

Building a DIY 5.1 Audio Video Receiver – Part 2
If you did not read part 1 of building a DIY 5.1 AVR, I suggest you start from there. Here is some important points from my previous post --
- decided to go with a class D amplifier
- start with a 2-channel amplifier for front speakers
- the front speakers are rated at 130W and 6 ohms
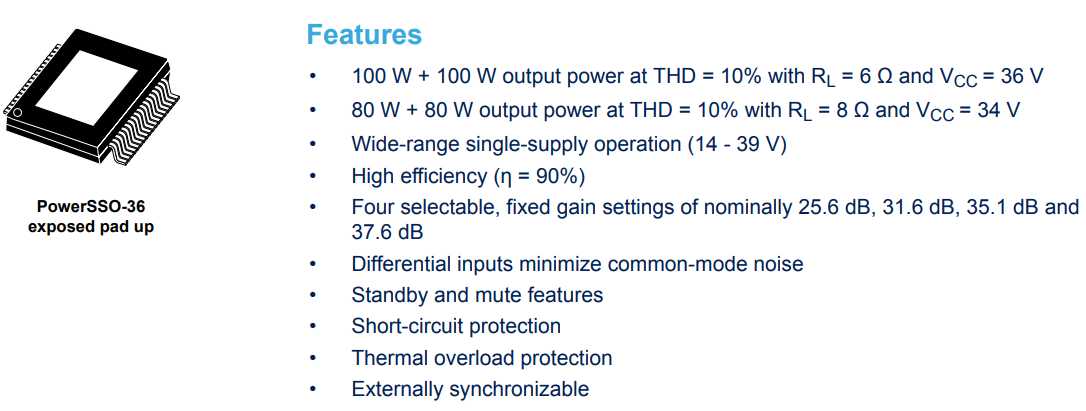
After searching through a lot of class D amplifier chips, I finally decided to go with TDA7498. They are rated for 100W at 6 ohms and that should be sufficient. Although I have the 130W speakers, I never really ran them at full power, so 100W should be sufficient. There are many manufacturers who build amplifier modules based on TDA7498, but I found one that had some decent reviews. The cost was Rs. 1,000 when I purchased it.
Power source
I just purchased the amplifier board but did not buy any power source. I had a couple of laptop chargers lying around and I decided to use them instead. It pays to keep parts of old laptops :). The specifications on the board recommended a 24V power supply. But my laptop charger outputs only 18.5V. So I was not sure if it would work when I ordered it. The datasheet for TDA7498 mentions that it can operate from 14V to 39V. However, I did not know if other components on the board need 24V.

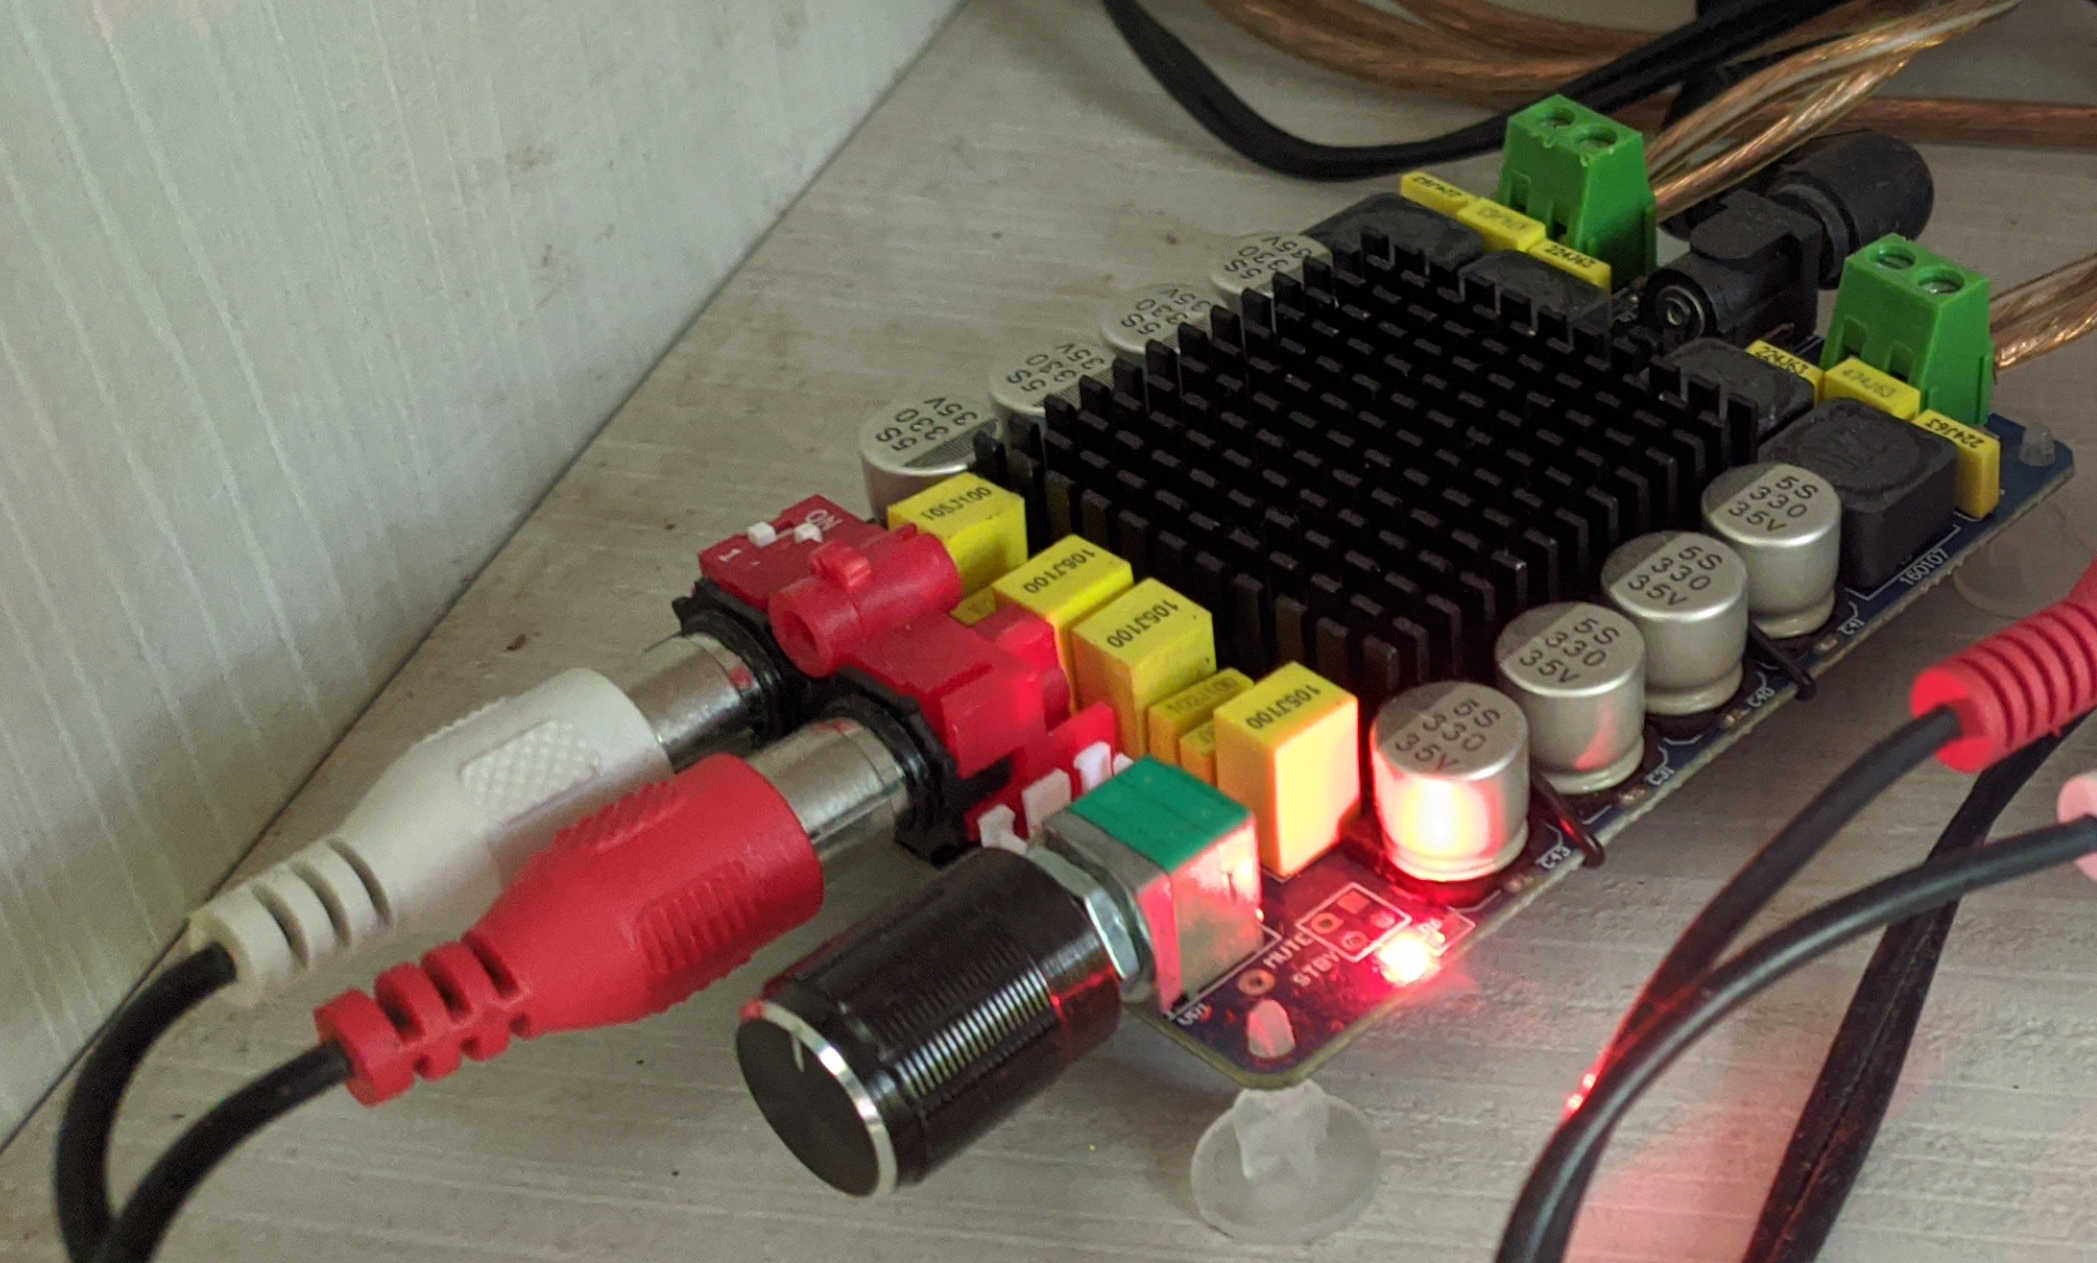
Anyway, I ordered and it arrived with in a week. The HP laptop charger I have has the exact barrel charger that this board needs. So I plugged it in and it turned on!
Speaker connections
Next I connected my front speakers to the amp using the 2 pin screw terminals on the back of the board. For the input I used my phone connected to the board via RCA cables. Played some music and I was really amazed by the audio quality. I did not have high expectations from a class D amplifier and that too from a cheap board such as the one I am using. Really impressed. The bass was clean and the highs were clear, but may be a tad bright.
Conclusion
While I am not an audiophile, I loved the audio quality of the board. The best part is that there is no hissing or humming when the input signal is zero. And yet, while I loved this board, I switched it with a different one. There were a couple of reasons that I will explain in my next post. One thing you will note is that I am using a 18.5 V power supply on a 6 ohm speaker. Which means that the maximum power output I can get from this board will be 18.52 / 6 (power = V2 / R) or about 57W. With 90% efficiency that comes to around 63W on the input side. My power supply is rated at 65W. Just about right!
Coming to the output power of 57W, it is much less than what my speakers can handle. But even at that level the speakers are much louder than I need at max volume. So I will keep the power supply. If I need it to be more loud I will have to invest in a higher voltage and power rated supply.
You can read all the parts in this DIY series by following the links below --
Part 1, Part 2, Part 3, Part 4, Part 5, Part 6, Part 7