

Building a DIY 5.1 Audio Video Receiver – Part 7
Now that I have the front speakers, rear speakers and sub-woofer working, the next thing I wanted to do in my DIY AVR project was to bring up the center speaker. I ordered a TPA3118 amplifier board for Rs. 379 towards it. The only problem with the board (which I did not realize when I ordered it) was that it does not have a volume control. The repercussions of this mistake will soon become clear. Anyway, I connected the board to a 12V power supply. The same one that was powering the crossover board from my previous post. Output from the board is connected to my center speaker. The sound quality is fine to my ears. Anyway it is the center speaker, so we don't need a great quality output.
Volume control
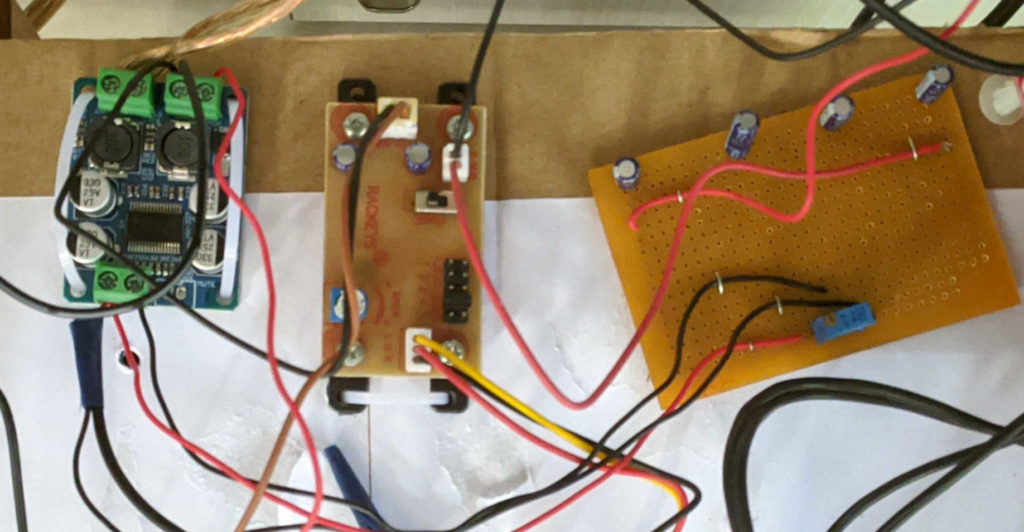
As I noted before, there is no volume control on the board. To control the volume on the center speaker, I have to control the input volume. Generally this isn't much of a problem, but the volume was not matching with my front and surround speakers. The center volume was overpowering the other speakers and put my 5.1 audio off balance even when the volume on the other boards is set to max. So I had to add a potentiometer (pot) to control the volume. I soldered the pot and the caps for the crossover board (see my previous post) on a small prototype board. Now I can control the volume using the pot.
HDMI audio extractor
The final piece in the puzzle of my DIY AVR was to add a HDMI audio extractor. The extractor will take the HDMI output from a media center device, extract the digital audio and convert that to 5.1 analog audio. The board that handles this specific task was the one that got fried in my Pioneer AVR during the power surge. This device also happens to be the most expensive piece in my design. I ordered the 5.1 audio extractor from AliExpress.
This was my very first time using AliExpress. I was not really sure whether the products get delivered properly. What will happen if the board does not work and I have to get a refund. What will be the custom duty. Moreover, due to the India-China border issues, many shipments are being blocked, so I was not sure if the package will be delivered or not. Many such questions were running in my mind. Unfortunately the device is out of stock on Amazon for a long time and I was getting impatient. I took the risk and went ahead with the order. The total cost including shipping came out to be Rs. 2,562.
Experience with AliExpress
I ordered the device on July 3, 2020. The item shipped on July 7 and departed China the same day. It arrived in India on July 21 and stayed at customs for less than a week. Finally the product arrived at my doorstep via India Post on July 28, 2020. So it took less than month from order to arrival. That's pretty good if you ask me. Thankfully there was no customs duty (I am not sure why though) which is even better.
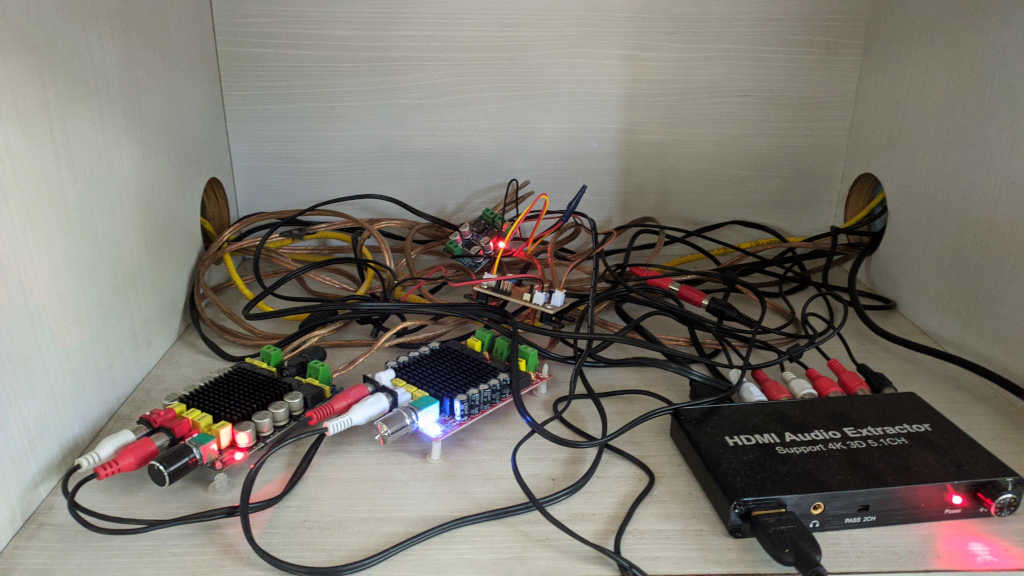
The package was a bit damaged and I was worried. But the item itself was not damaged. I connected the output from my media center to the HDMI extractor and the output from the HDMI extractor to my 4K TV. I got 4K signal on my TV and also 5.1 surround sound from my speakers. Everything worked without any issues. Left a 5 star review on AliExpress. This was a really good first time experience.
Clean up
Now my AVR is finally complete. One issue though was the cable management. It is a huge mess and made my otherwise nice looking TV showcase look like crap.
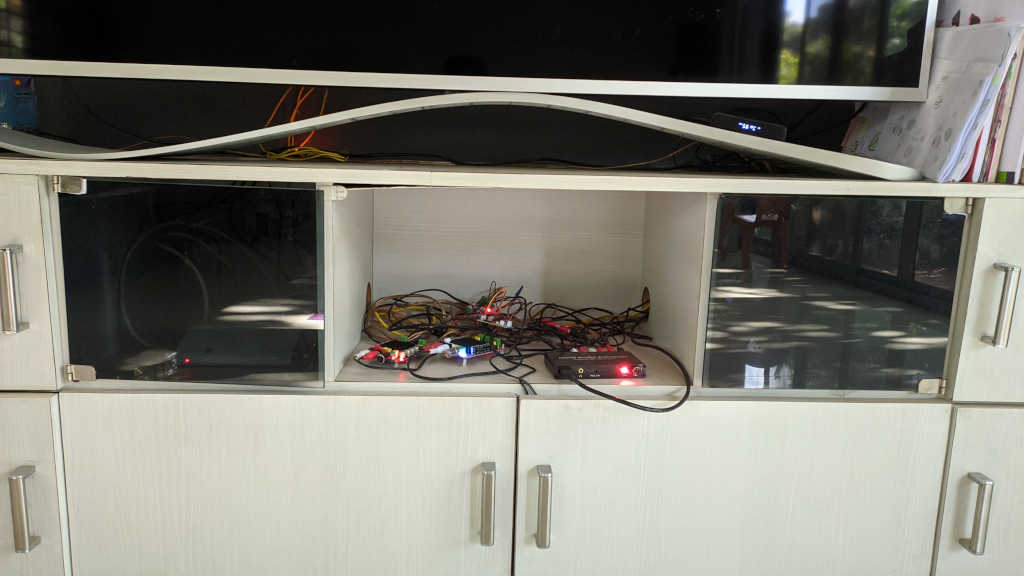
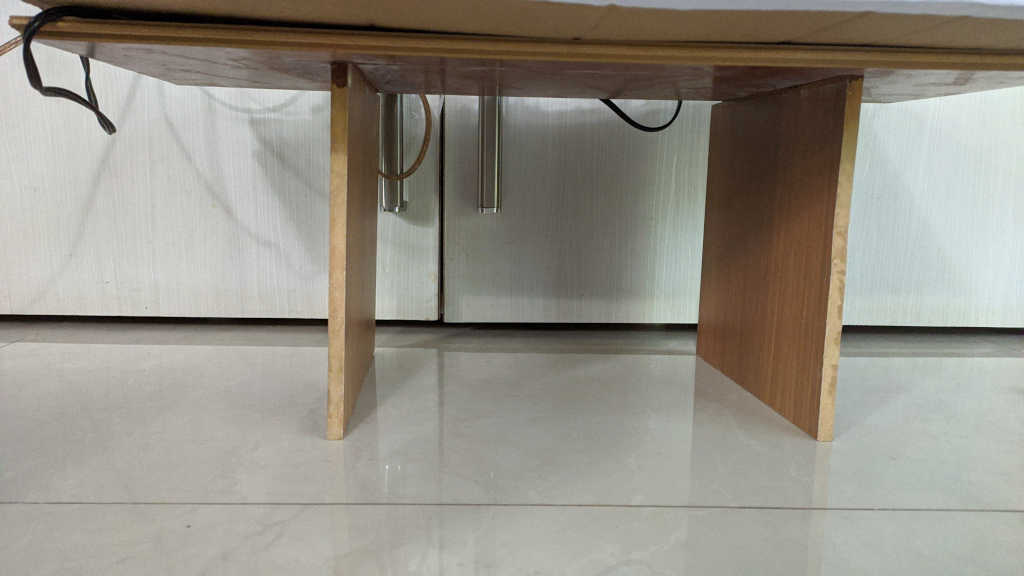
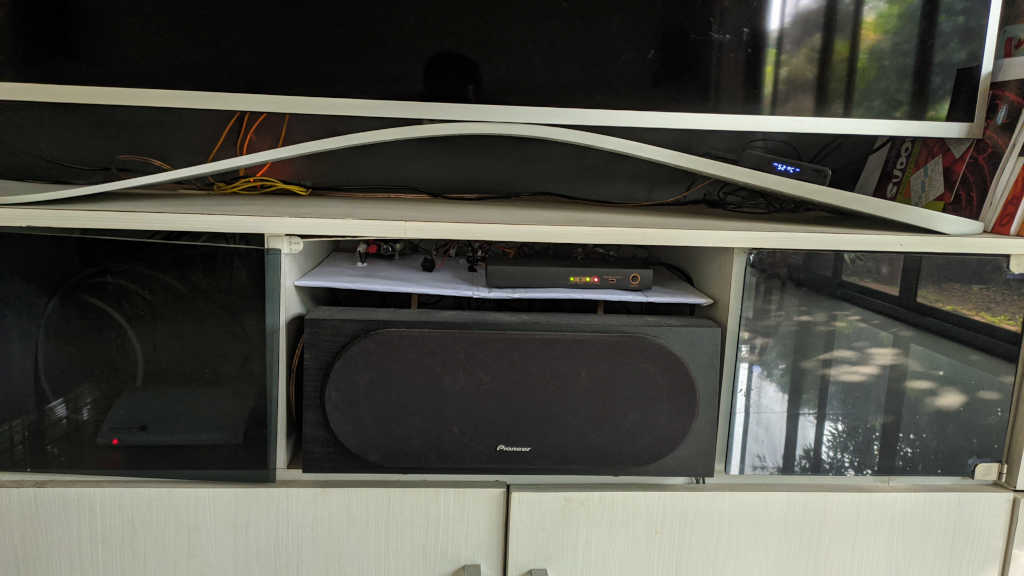
Earlier my Pioneer AVR would be sitting in this place hiding all the wires behind it. Now there is no such thing. So I moved the center speaker into this space and built a small desk on which the boards can sit. I had some old wood planks lying in the house left over from the wooden flooring done in my house. So I cut some planks using a hacksaw and built a small table. The idea was to place all the boards on top of the plank and run the wires behind it. Then place the center speaker in front to hide all the mess.
After the cable management, the view looks much better.
Conclusion
It has been a long journey, but I finally completed my DIY 5.1 AVR. All put together I spent around Rs. 5500. It certainly is better than getting my Pioneer AVR repaired which was billed at Rs. 20K. Audio quality wise I could not tell the difference from before. The electricity bill will be lower thanks to class D amplifier :). But none of this compares to the fun I had building it with my own hands and learning a lot about amplifiers and audio tuning!
| TDA7498 for front speakers | Rs. 1201 |
| TDA7498 for surround speakers | Rs. 999 |
| Cross-over board for sub-woofer | Rs. 285 |
| TPA3118 board for center speaker | Rs. 379 |
| HDMI 5.1 audio extractor | Rs. 2562 |
| Total | Rs. 5426 |
You can read all the parts in this DIY series by following the links below --
Part 1, Part 2, Part 3, Part 4, Part 5, Part 6, Part 7