Building a DIY 5.1 Audio Video Receiver - Part 1
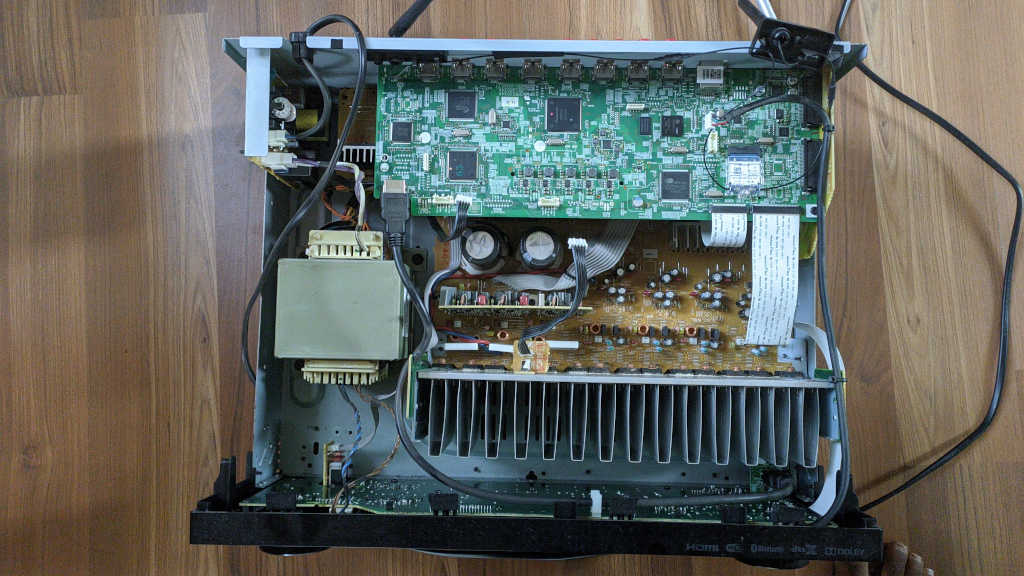
Alright, you already know the story of my electronics going puff during a power surge. One of the electronics that got burnt was my unnecessarily expensive Pioneer 5.1.2 AVR. The reason I put emphasis on unnecessary is because I rarely used all the features of the device. Don't even know why I spent all the money :). After it stopped working, I opened and checked everything that I could figure out. But I didn't notice any obvious problems. The AVR just boots up, turns on the amplifier relay and turns off. Since it failed during COVID lock down, I couldn't do much about it.
Eventually, after the lock down ended, I took it to the closest Pioneer service center (which was not really close by the way). After a one hour drive, and some face mask, hand sanitizer and disinfectant spray dance later, the service center accepted it. He told me it will take a couple of days to diagnose the issue and charged me Rs. 1000 for just running the tests. Another one hour drive back home. The next day he called and informed that the main board is reporting some error. He told me that the cost of replacing the part is Rs. 20k (import + custom + taxes). On top of that he will charge Rs. 2000 + taxes for repair work. I was like, wait a minute, I can buy a budget AVR for that price :). So I declined the repair.
Why not build one myself?
After driving for 4 hours and spending Rs. 1000, I was no where close to the having a working AVR. Time to take matters into my own hands. I decided to build my own DIY 5.1 amplifier. Initially I wanted to build everything from scratch. The idea was to buy good quality power transistors and solder them in class AB amplifier configuration. But while I was searching for the parts, I found that there are some good pre-built amplifier modules readily available. Why bother with soldering and PCBs when I can buy an off the shelf component for much cheaper price and less labour :).
My speaker setup
I have the Pioneer Andrew Jones speaker set (SP-FS52, SP-BS22-LR & SP-C22) that became orphans when the amp died. The front speakers were rated for 130 watts each, the rear ones are 80 watts and the center speaker is rated at 90W. All the 5 speakers have 6 ohms impedance. So I need an amplifier board that can handle those ratings.
Which amplifier?
Next comes the type of amplifier. There are several amplifier classes. Researching for the boards brought back so many memories from my electrical engineering days. Anyway back to the subject. If absolute quality is the highest priority for you then one would choose class A amplifiers. But they are extremely inefficient (40% or less efficiency) because they are constantly biased at Q-point wasting a lot of energy even while idle.
The next option is class AB amplifier which is more efficient (almost 65% efficiency), with some loss in quality. Almost all AVRs use class AB amplifiers including my Pioneer VSX-1131. Because they generate so much heat you will notice the power transistors glued to the cooling fins in the front of my AVR. Some systems even have a fan to cool the transistors.

An experiment
I wanted to have a more efficient amplifier if I was to build one. So I decided to try out class D amplifier (around 90% efficiency). Supposedly the output from newer class D amplifier chips is almost as good as class AB amplifiers. I wanted to start small so I decided to use a 2 channel amplifier that could power my front speakers. If I liked the audio quality then I can buy more class D amps to power the rear and center speakers. The story of how I build my 5.1 AVR form scratch in the upcoming posts.
You can read all the parts in this DIY series by following the links below --
Part 1, Part 2, Part 3, Part 4, Part 5, Part 6, Part 7

