

Update on Rain Water Harvesting Project
One of the benefits of retiring is that you have a lot of free time and you itch to do something. But without a boss and a project to throw you around, you are on your own. Which means you can come up with whatever ideas that fancy you. One such idea was the rain water harvesting project. I blogged about it a few weeks ago and you can read all about it there. As I mentioned in that post, the project was still a work in progress as we were trying to improve some shortcomings and fixing bugs (software parlance). One of the issue we noticed with our setup was that a single 1 inch pipe is unable to drain out the water from the drum fast enough during heavy rainfall. So the drum is filling up and overflowing even as the 1" pipe is draining water from the drum. We finally fixed the issue now by replacing the 1" pipe with a 2" pipe and everything works like a charm. So here is an update on how we achieved it.
First a word on fluid mechanics. When I was doing my undergraduate studies in electrical and electronics engineering, I never understood why we have to take a course on fluid mechanics. I actually enjoyed the subject and understood the concepts, but never really found any applications in real life until now. I guess like Steve Jobs said, you can only connect the dots looking backwards. The problem I was trying to solve really was -- There is a 3 inch pipe transferring water from the terrace into a 100 liter drum. The water from the drum is being drained out with another pipe at the bottom. Minimize the size of the drain pipe without the water in the drum overflowing, assuming that the rain lasts for 30 mins. Go figure. Hint: Bernoulli's equation. I don't remember a thing about fluid mechanics anymore, so had to refresh my memory with YouTube :).
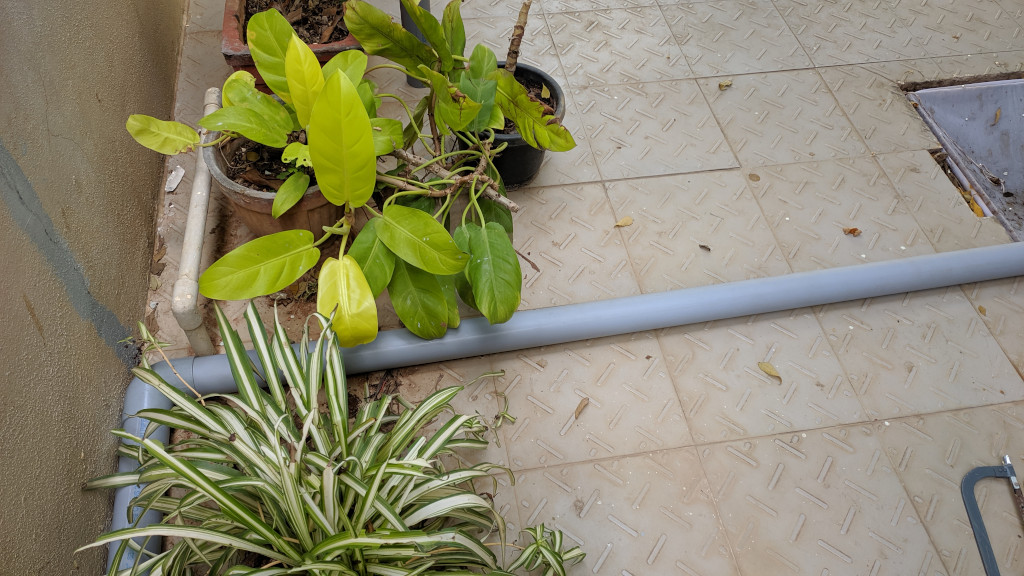
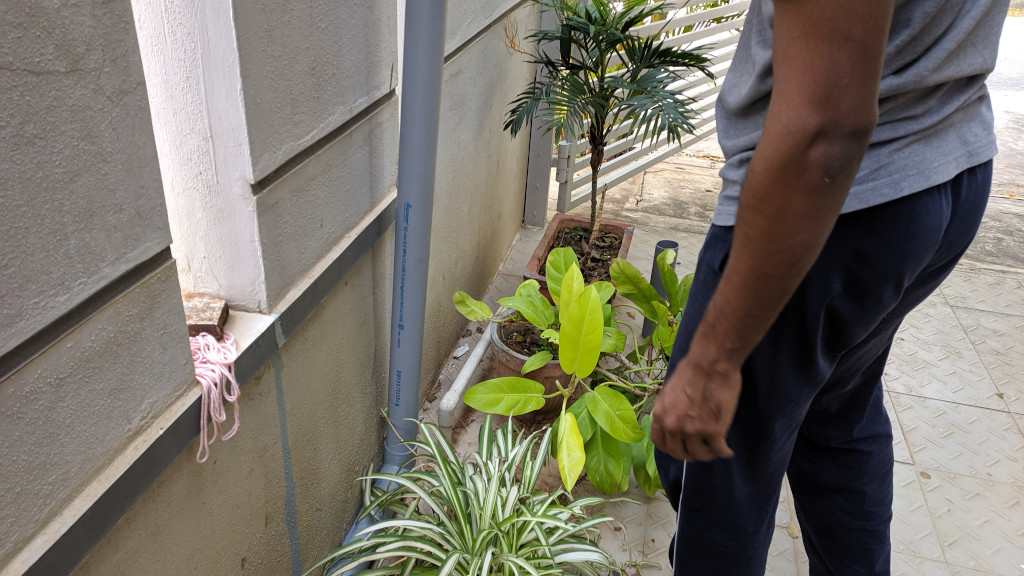
Anyway, back to my project. We measured how far the drum was from the sump which happened to be about 35 feet. The pipes were available in 20 ft sizes. So got a couple of pipes and a few elbow joints for all the transformations. Also had to buy a new pipe and gasket to insert into the drum. What follows is a picture story, so I don't have to bore you with the details.
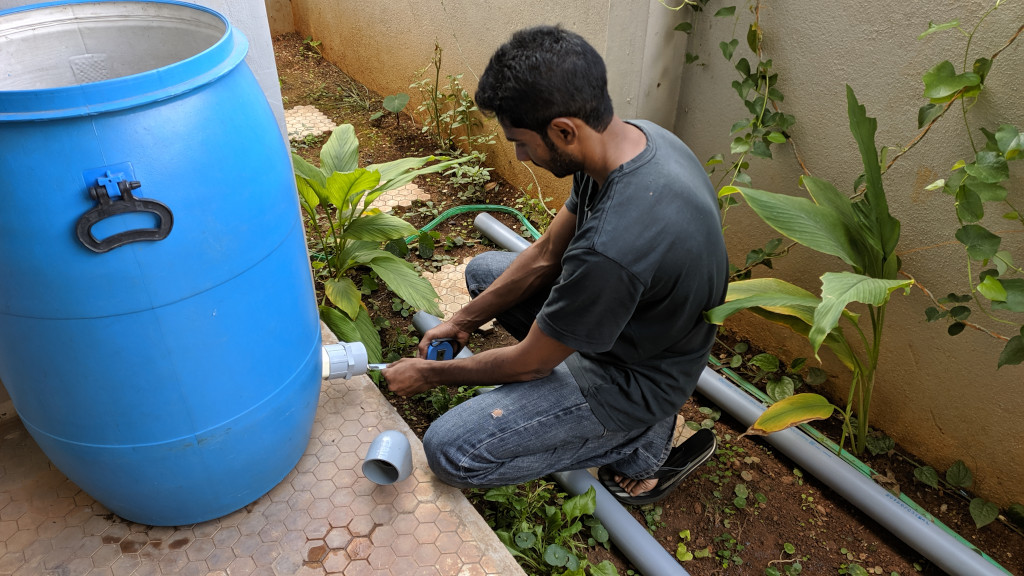

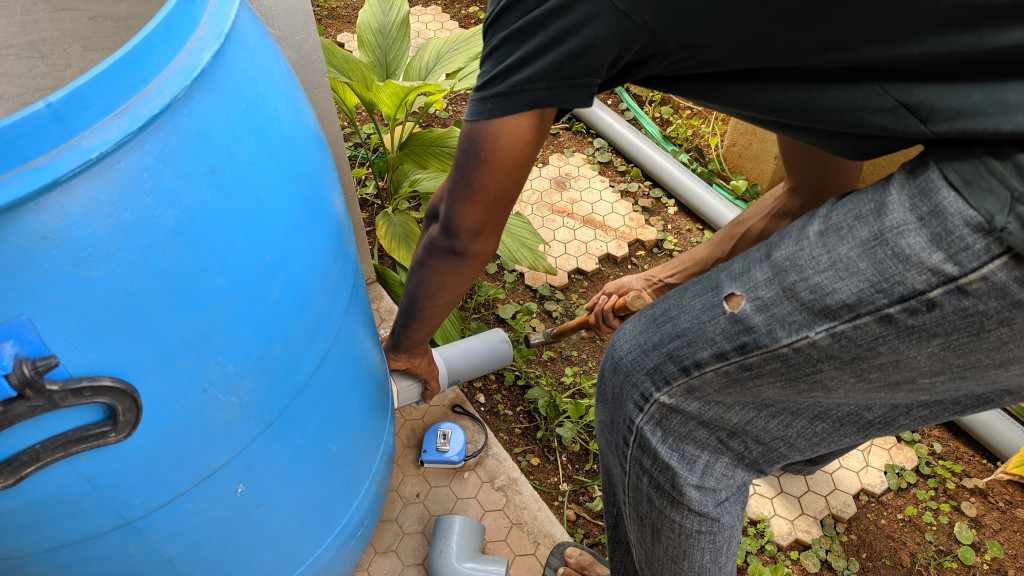
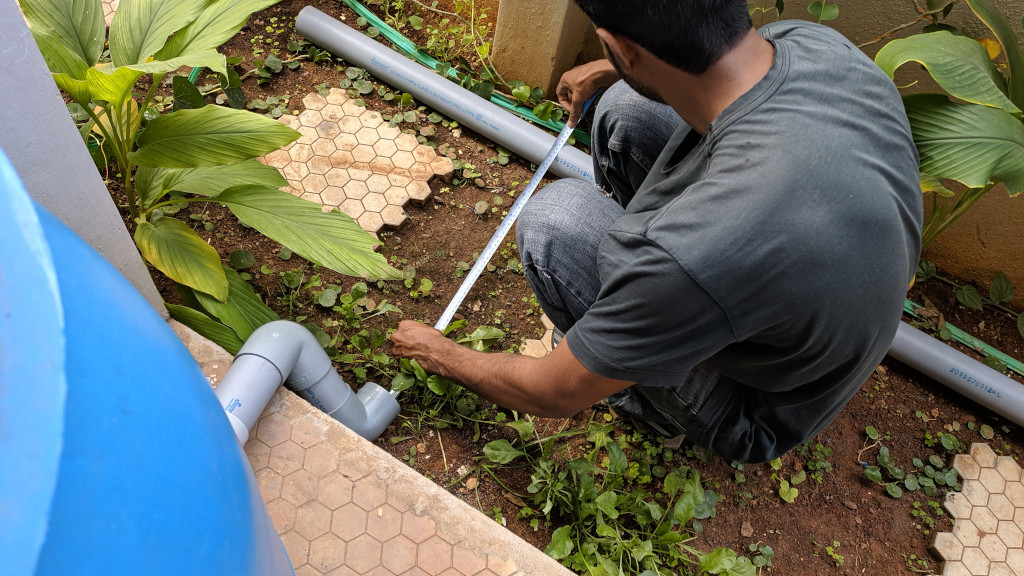
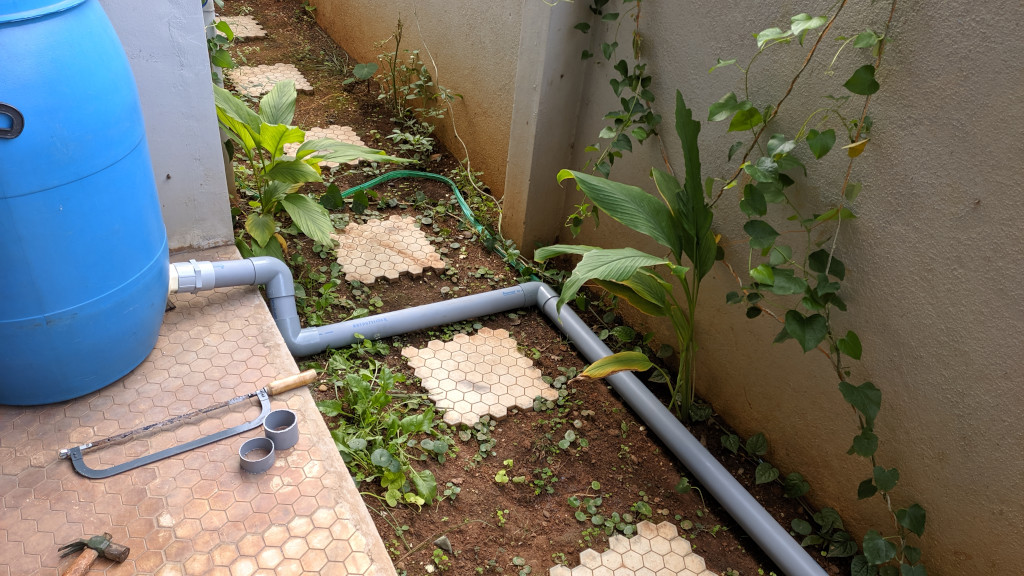
After connecting the pipes all the way to the sump, we designed it such that the rain water pipe can be lifted up when not in use and dropped down into the sump when there is rain. That way the sump will be closed most of the time and the rain water harvesting pipe is out of the way. When there is a rain, we simply have to drop down the upright pipe into the open sump.
All in all it took 2 days. We worked for about an hour each day, which includes the time it took us to go the market and buy the pipes as well. Not bad for a couple of hours of work. Rain paid a visit soon after and we had the opportunity to test it out. Although it wasn't a big rain I am confident that the pipe and drum will easily be able to handle any amount of rain. We just have to clean the filters properly. Now that the rain water harvesting project is done, on to something else :)