

Building A Disk Drop Game Board
In one of my previous posts, I was left wondering if toys have a place in unschooling. The argument was that the toys help develop creativity in the kid. On the other hand, why should we buy any toys if the kid is creative? They can build their own toys with nature. Well, I got a mild taste of the latter when my daughter proposed and help build a disk drop game board. For those unaware of a disk drop game, here is a picture of it.
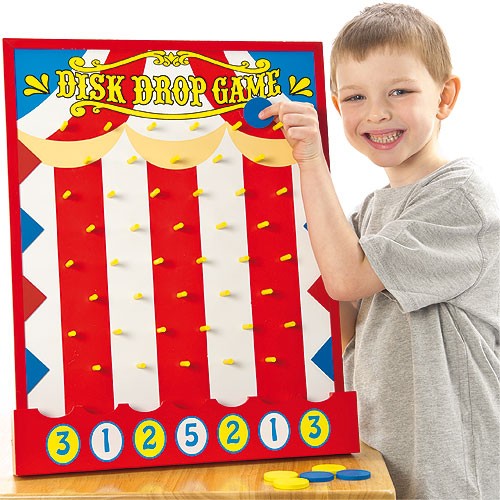
The interesting part is that she has never seen the game as a kid's toy. My mom watches a TV show in which the participants play the game. And depending on where the disk lands at the bottom, they win cash or pay the consequences. Check out how the game is played in the TV show on youtube.
Designing the game
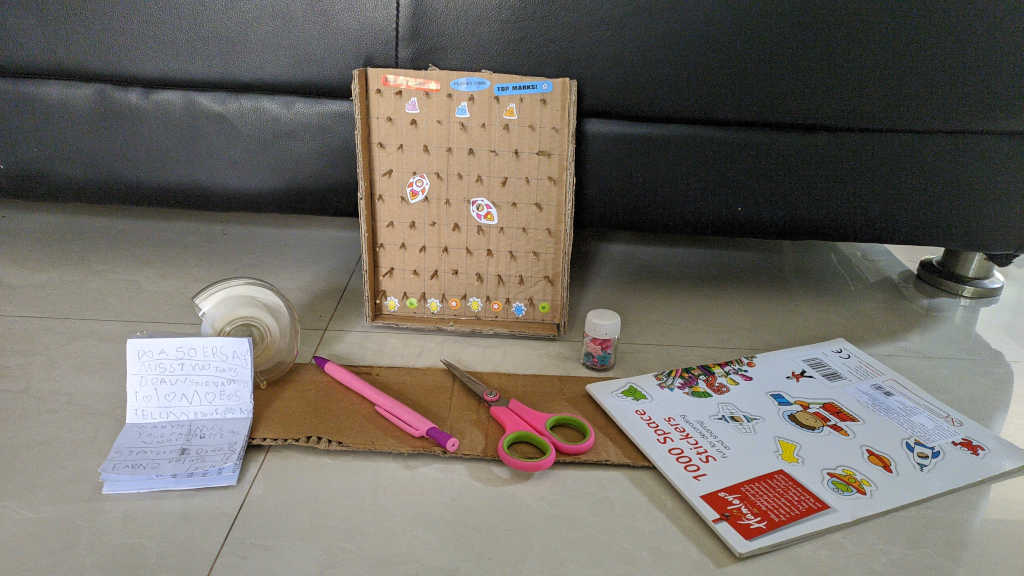
My daughter suggested that we build the game using cardboard. As any good unschooling parent, I tried my best to not give any suggestions or ideas about the design. I let her come up with the design and how she intends to build it. I was only there to cut and glue things. So, she gave a basic design idea for the box. Then suggested that we put some toothpicks for pins. With the design ready, I cut some cardboards and built it out. Compared to the doll house project this was a much shorter project. Then she decorated it with all kinds of stickers.
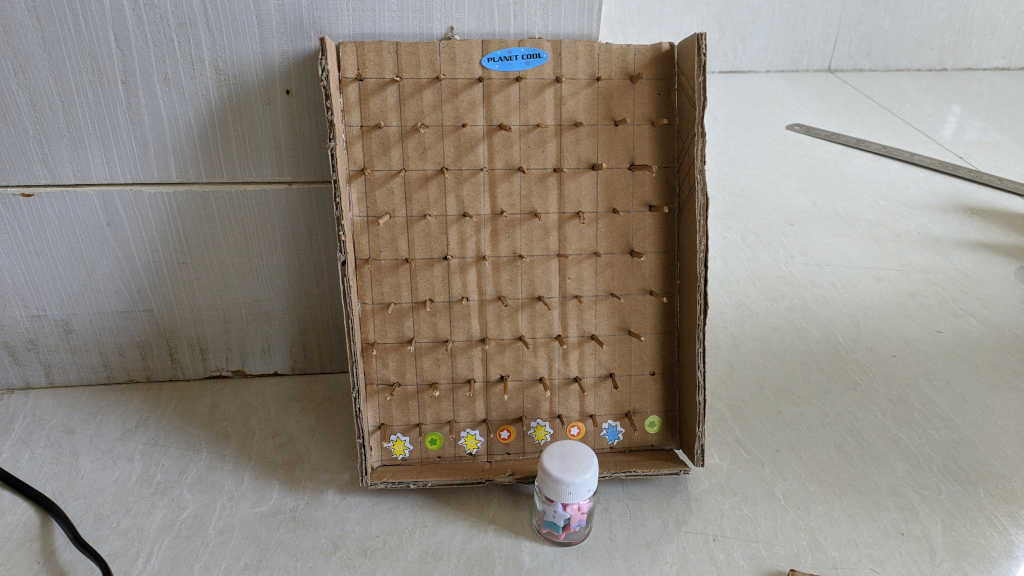
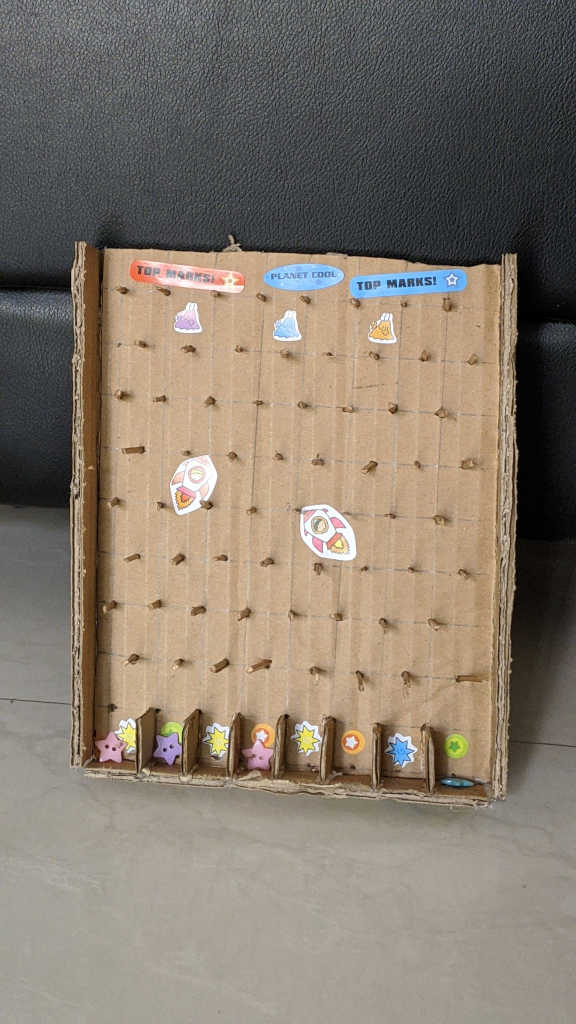
At the bottom she marked each section with three types of stickers.
- Orange stars indicate consequences
- Green stars are rewards
- All others are no-ops
For the consequences, she came up with things like
- Do a somersault
- Miss two turns
- Write your name 10 times
Rewards are things like
- Get 2 points
- Protection from consequences (2 times)
- Two extra turns
Each player has to take turns to drop the disks and who ever gets 10 points wins. I found it interesting that she was able to come up with a game, rules and story all by herself. You can see the full game set with stickers, rules book and the disks in the picture below.
Here in the video below, you can see my daughter testing out the board.
Fixing the design
One thing you will notice if you watched the video is that there is a possibility that the disk can land in one place at the bottom and then slide over to the other place. It was difficult for us to agree upon where the disk initially landed. So again I did not say anything and let my daughter figure out the issues with her design. After some game play, she said "we need to put up some walls at the bottom to stop the disks from rolling over". There, problem solved. I was able to keep my mouth shut until she came up with the suggestion. We put up the walls using more cardboard and hot glue and it is much better now.
With these changes to the design, now is the perfect time for a homemade board game with family. She played it with her grandparents too and enjoyed it. That is the story of the toy we never bought. So the other unschoolers may be on to something when they were hinting that "kids don't need toys and they will figure out a way to play". Well in this case I had to help build most of it. But the hope is that she will eventually figure out how to build all the toys she needs by herself :).
One more video of us playing the game. The board was still not yet fixed with walls, but you get to catch a glimpse of the rules of the game.