The Nun-Chucks Project
So far in this blog, I have been posting articles with advice and tips about finance and how to retire early. But when I started the blog, I did not intend to keep it strictly about retirement or finance. I just wanted to post my journey to retirement and retirement activities. My posts have been about financial planning, tips and advice, mostly upon requests from friends and colleagues. This post, and probably a few more upcoming posts will be a deviation from that style :D , since I want to write something about post retirement activities. You may skip this one if you are here just for some financial advice.
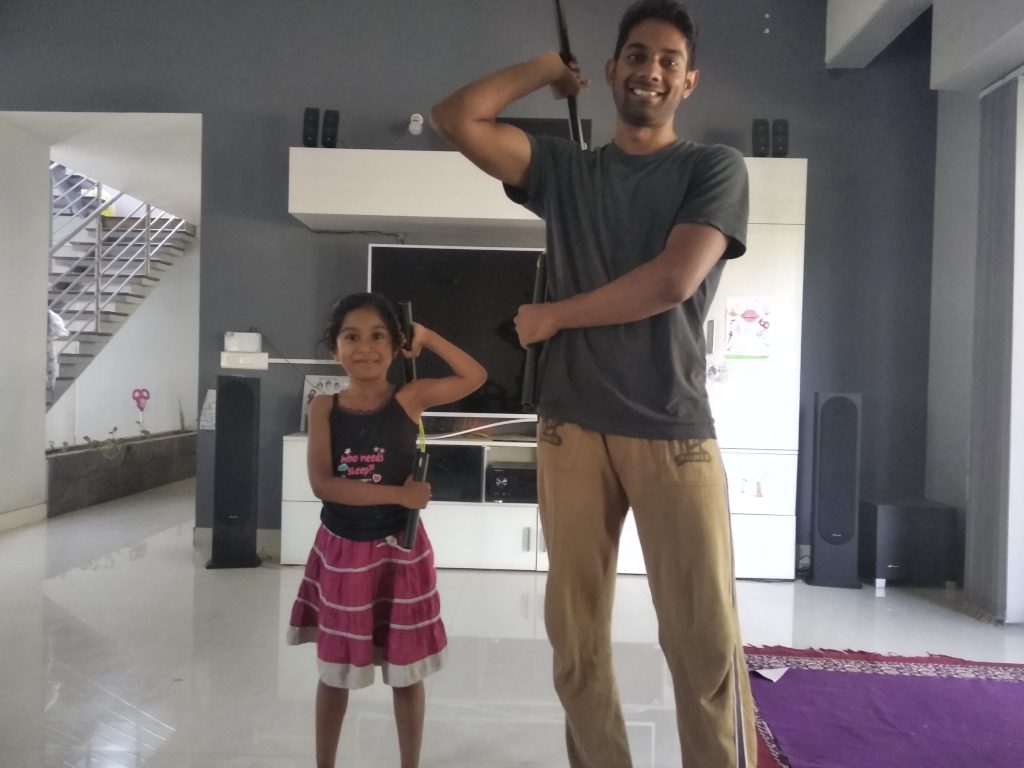
Some of you may know that I am learning traditional Budokan Martial Arts (karate) along with my daughter. Recently we both graduated to green belt after much effort :) and middling grades. The interesting part about green belt is that we are now introduced to weapons for the first time. And the first weapon taught is nunchucks. Obviously, for beginners, a lighter nunchuck is preferred so we don't hit our head, nose, eyes or other soft parts. Hence the practice starts with a nunchuck that has plastic handles (PVC pipes) and a nylon thread joining the handles. Next comes wooden handles with a chain and finally metal handles.
In our class, we are expected to make the first nunchuck on our own. So I thought I should do a post on DYI nunchucks, and that is how this post got started. I had to make 3 nunchucks -- one for myself, one for my daughter and one for the class which I accidentally broke during my practice session (my plastic handle hit my Sensei's wooden handle during practice and it broke to pieces). Anyway, this is how I went about making a nunchuck.
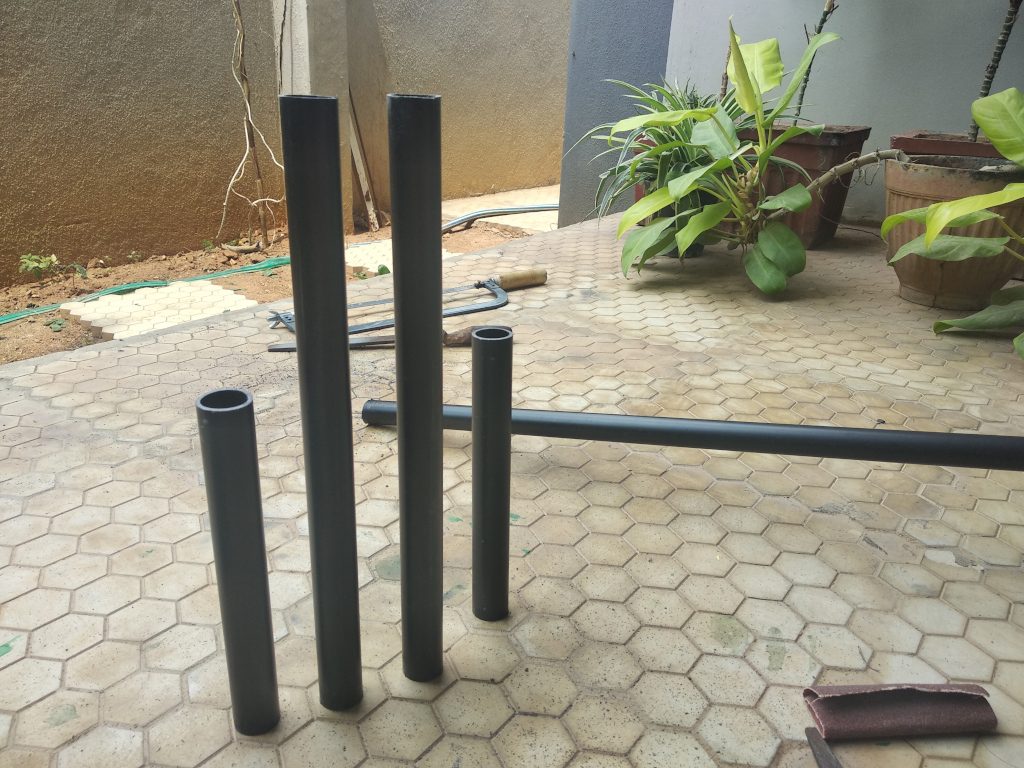
Based on my Sensei's advice, I measured the length of my arm to be the total length of the nunchuck. The length of the chain should be the size of the two fists put together plus a couple of centimeters on either side to allow the handles to hang freely. So if the length of the arm is 30 inches and the chain length is 8 inches, then the handles will be 11 inches each. I got a long black PVC pipe with 1 inch diameter and cut it into pieces of the required length to make the handles for the nunchucks.
That was the easy part, now comes the hard part of filing the ends of the handles. I was sloppy and did not cut the ends perfectly flat. Had to spent some time filing off the ends until the handles could stand on a flat surface. So if you are making a nunchuck yourself, my advice is that you spend some time with the hacksaw to get the alignment right, you will save a lot of time later.
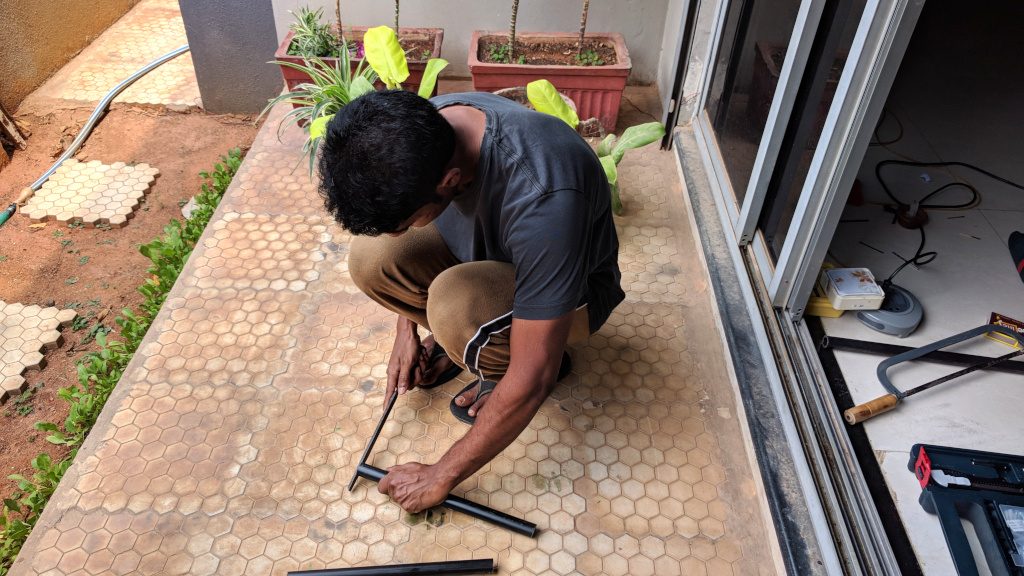
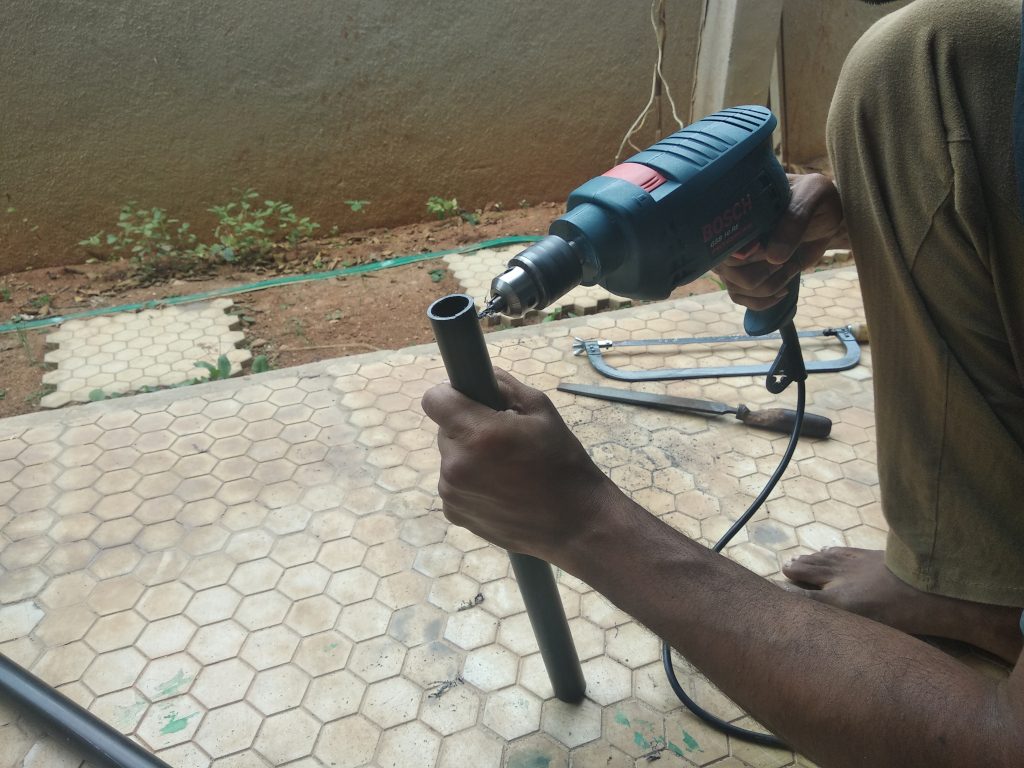
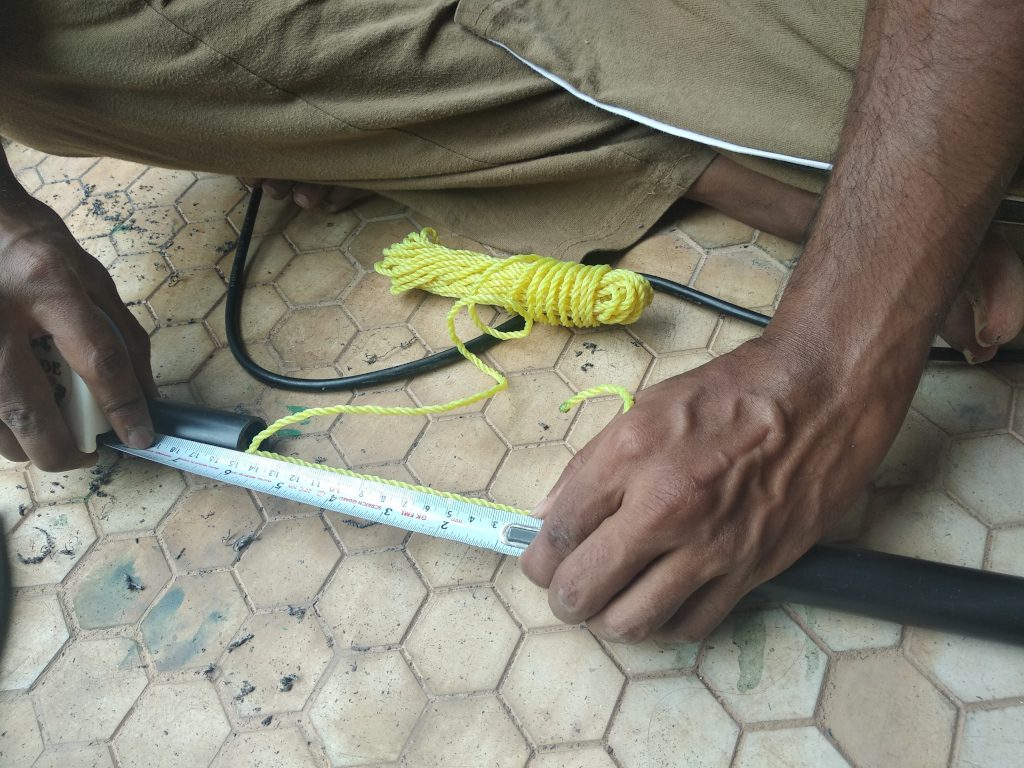
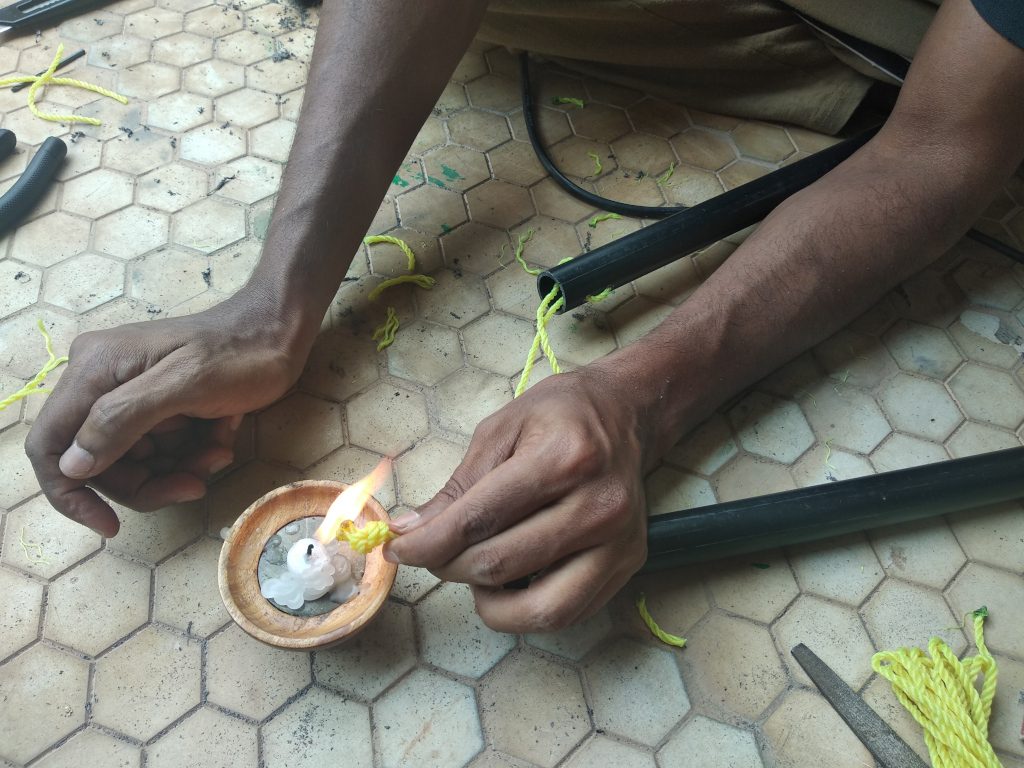
Next, I drilled 2 holes about two centimeters apart on each side of the handle to allow the nylon rope to pass through. After the rope goes through both the handles, it is time to check the length and tie a knot. Since the knot can slip when the nunchucks are used, the ends of the knot have to be melted with a candle.

All done! Now I have all three nunchucks ready for practice.
Update: I made one more improvement to my daughter's nunchuck. I felt that the handles were still too hard for her and so I wrapped some bubble wrap around them. Now they feel a bit safer.